While regular maintenance and timely repairs can extend the life of your roof, there comes a point when replacement is the most cost-effective solution. View the dropdown for key signs that indicate it’s time for a roof replacement.
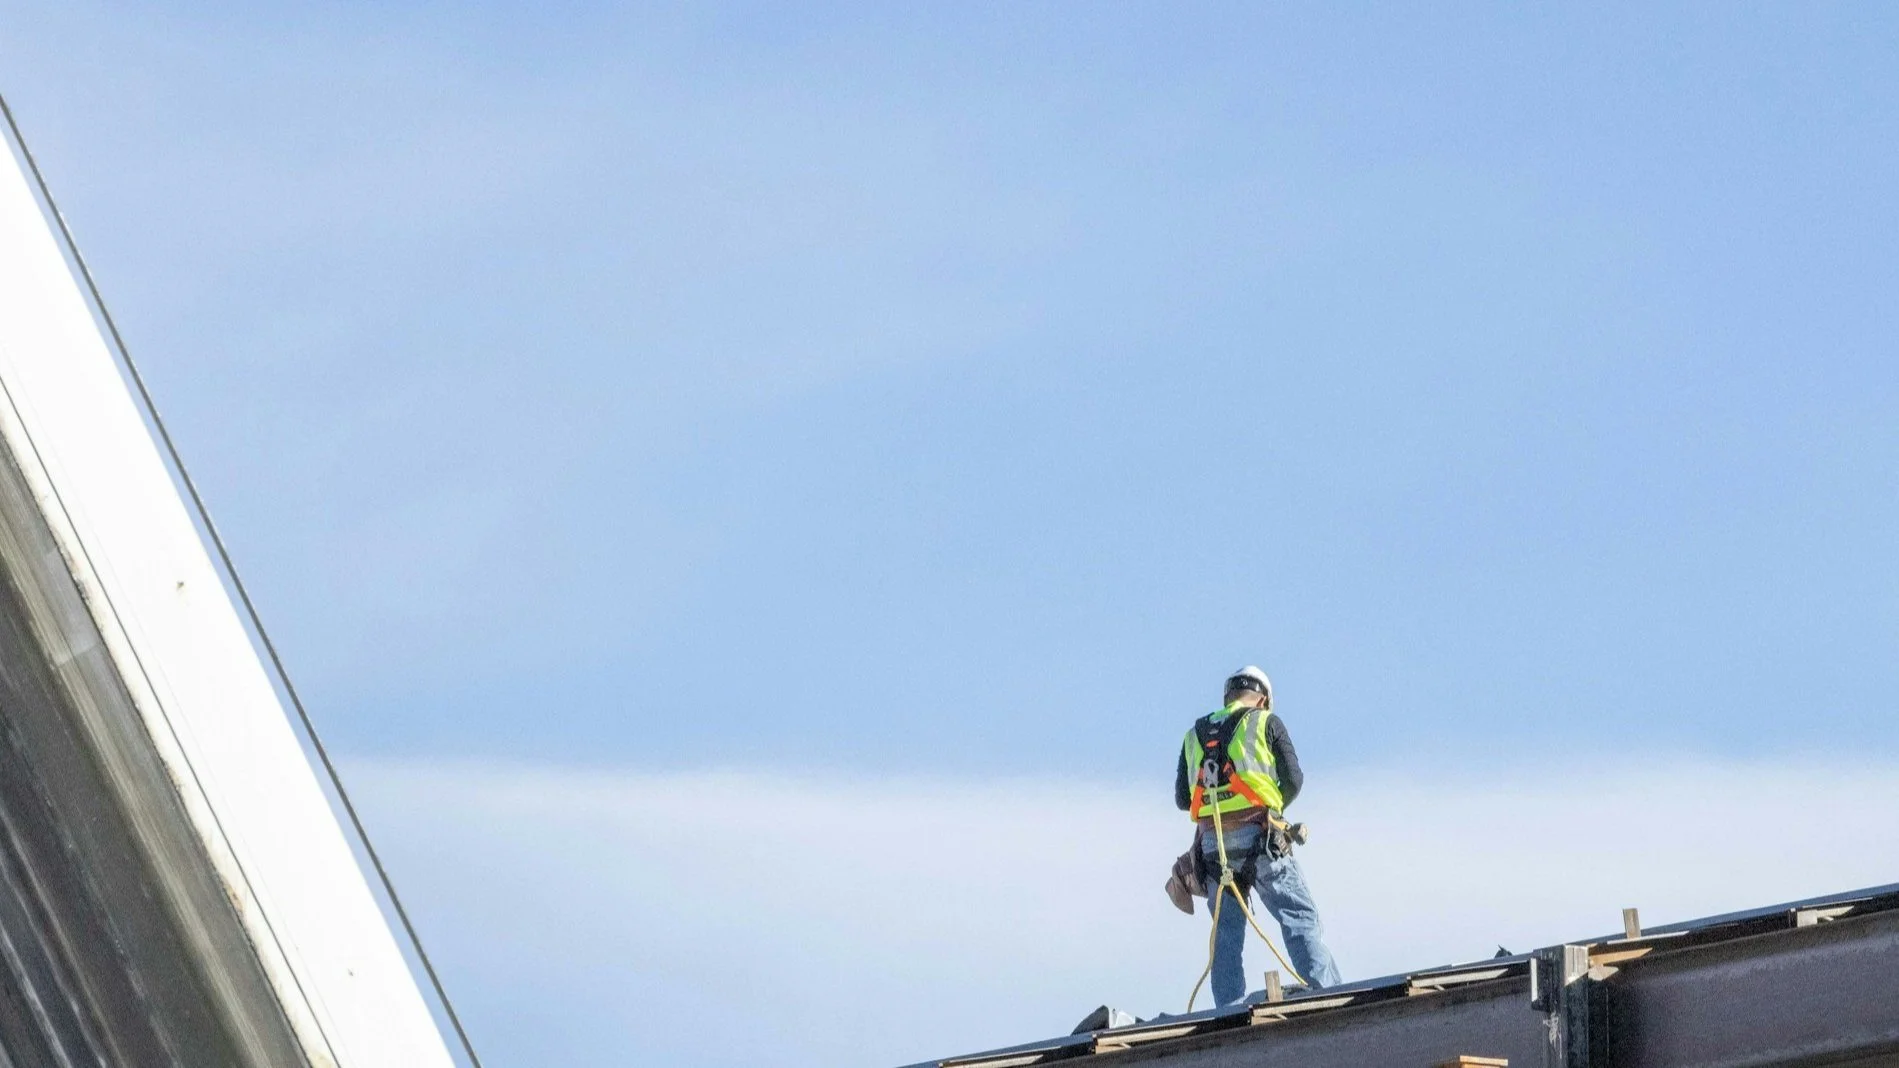
commercial roof installation
-
Most commercial roofs have a lifespan of 15–30 years, depending on the material. If your roof is nearing or surpassing its expected lifespan, it may no longer provide reliable protection. Replacing an aging roof can save you from frequent, costly repairs and the risk of more severe damage.
-
If the damage is widespread—such as large areas of missing shingles, cracked membranes, or extensive water damage—repairing these sections may not restore the roof’s overall integrity. In these cases, a full replacement is often more cost-effective than patching up multiple spots.
-
Recurring leaks that persist even after multiple repairs are a clear indicator that the roof’s structure is compromised. Leaks not only lead to water damage inside your building but can also affect the roof deck and insulation. When leaks become frequent or widespread, replacement may be the best option.
-
If you’re constantly paying for repairs, your roof may be past the point of effective restoration. Continual repairs can add up, making a new roof more economical in the long run. If repairs no longer provide long-term solutions or stop working altogether, it’s time to consider a replacement.
-
An aging or deteriorating roof can lead to poor insulation, causing your HVAC system to work harder and increasing energy costs. If repairs can’t restore the roof’s energy efficiency, a replacement might be necessary to help reduce your business’s energy bills.

our roof installation process
1. Pre-Installation Planning & Assessment
The process begins with evaluating the building's structure, selecting the appropriate roofing system (TPO, metal, EPDM, etc.), obtaining permits, and ensuring compliance with local building codes.
2. Roof Preparation & Tear-Off (If Necessary)
If replacing an existing roof, the old material is removed, and the surface is inspected for structural integrity, ensuring a solid foundation for the new system.
3. Insulation & Vapor Barrier Installation
A proper insulation layer is installed to enhance energy efficiency and moisture protection, often accompanied by a vapor barrier to prevent condensation issues.
4. Membrane or Panel Installation
Depending on the roofing type, large membrane sheets (for TPO, PVC, or EPDM) or metal panels are carefully laid out and secured using adhesives, fasteners, or welding techniques for a watertight seal.
5. Seams, Flashing & Penetrations
Critical areas such as seams, flashing around HVAC units, vents, and drains are reinforced to prevent leaks and enhance durability.
6. Drainage System & Edge Details
Proper drainage solutions, including gutters, scuppers, and downspouts, are installed to prevent ponding water and direct runoff away from the building.
7. Final Inspection & Quality Control
A thorough inspection ensures all materials are properly secured, seams are watertight, and the installation meets industry standards before handing over the completed project.
8. Cleanup & Client Walkthrough
The job site is cleaned, debris is removed, and the building owner is guided through the completed installation, along with warranty details and maintenance recommendations.